Guide
How to Clean an Oven (The ADHD-Friendly Method That Actually Gets Done)
Your oven has not been cleaned in two years. Possibly longer. Nobody is judging you. This article assumes you have been ignoring it completely, not maintaining it lightly.
Every cleaning guide on the internet tells you the same thing. They tell you to set aside an entire Saturday. They tell you to fast for twelve hours so the oven stays cool. They want you to mix three chemical solutions and dedicate yourself to the project. You will not do that. You have not done that, possibly ever. That guide is not for you.
This is the ADHD-friendly method. It takes ten minutes of actual physical effort. It is spread across a full day. There is no fasting. There is no empty weekend. There is no special equipment. The oven gets clean while you do other things. This is the only kind of oven cleaning that ADHD brains actually finish.
Why standard oven cleaning advice fails ADHD brains
Standard oven cleaning guides fail because they demand perfection and an entire weekend. The decision load is simply too high. When a task requires twelve steps and four hours, an ADHD brain shuts down completely.
They also require remembering an empty oven for twelve hours. This is an object permanence trap. If you leave a paste in the oven overnight, you will forget it exists. You will preheat the oven for a frozen pizza the next day. The paste will bake onto the walls. You will have created a worse problem.
They require multiple ingredients you do not own. This adds a massive executive function load. If you have to go to the store to buy washing soda and borax, the oven will never get cleaned.
Finally, they assume you will eagerly check your progress. You will not. You need a system that assumes you will get distracted. You need a system built to bend instead of break. You need a method that works when you walk away and forget about it entirely.
What you need (and what to skip)
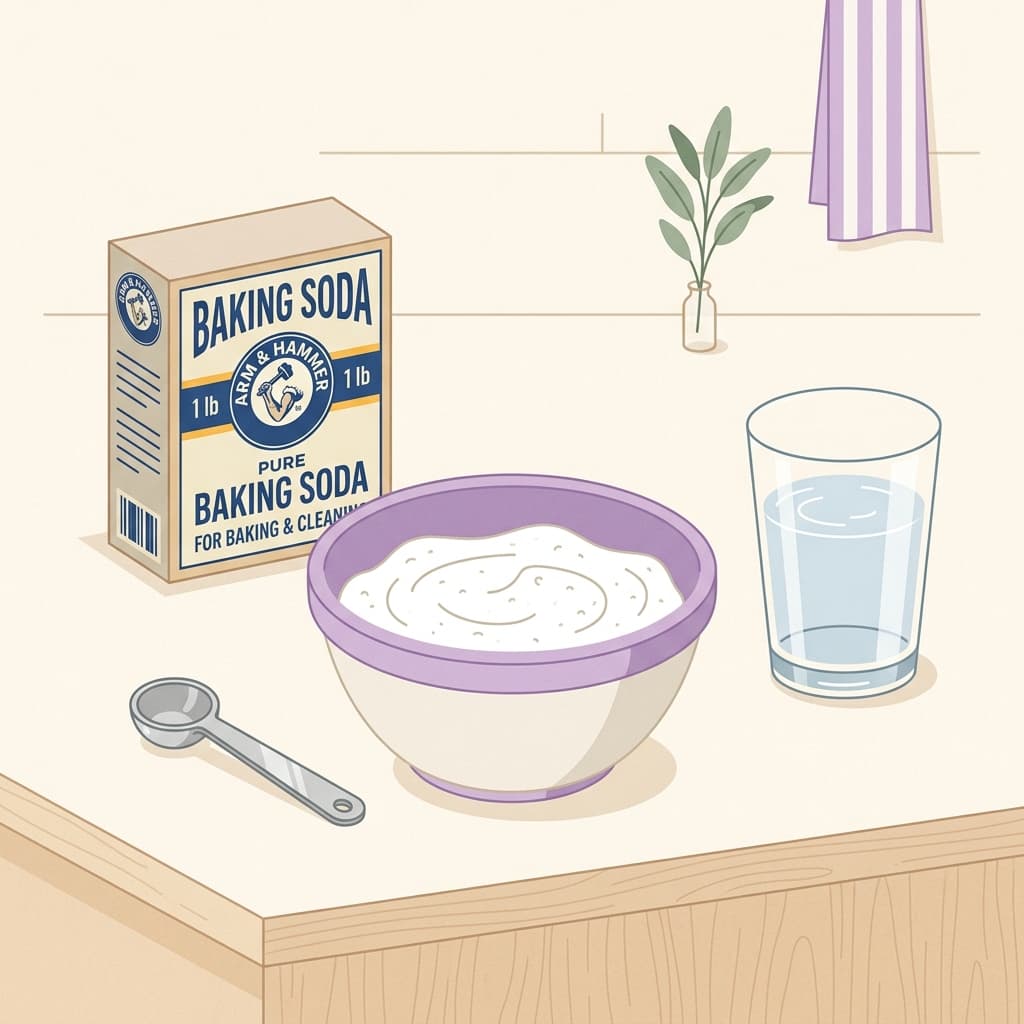
You need two ingredients. You need baking soda. You need water. That is the entire list.
This is Recipe #2 from our DIY cleaning products guide. It is a simple abrasive paste. It is incredibly cheap. You already have it in your kitchen.
Skip the commercial oven cleaner for routine cleaning. It works, but the toxic fumes are brutal, and you will get distracted while ventilating the room. We will cover when it earns its place later in this article.
Skip the self-clean cycle. It uses four to six hours of electricity. It heats your kitchen to an unbearable temperature. It smokes out your entire house. It can also break the electrical panels on older ovens.
Skip the expensive vinegar sprays. Vinegar is mostly cosmetic inside an oven. The baking soda does the actual heavy lifting.
The method (10 minutes of effort, 12-24 hours of waiting)
This is the actionable framework. Follow these five steps exactly.
Step 1: Make the paste (2 minutes)
Pour half a cup of baking soda into a small bowl. Add water exactly one tablespoon at a time. Stir the mixture. Stop adding water when it looks like thick toothpaste. This is the entire recipe. You literally cannot mess this up.
Step 2: Slap it on the oven (3 minutes)
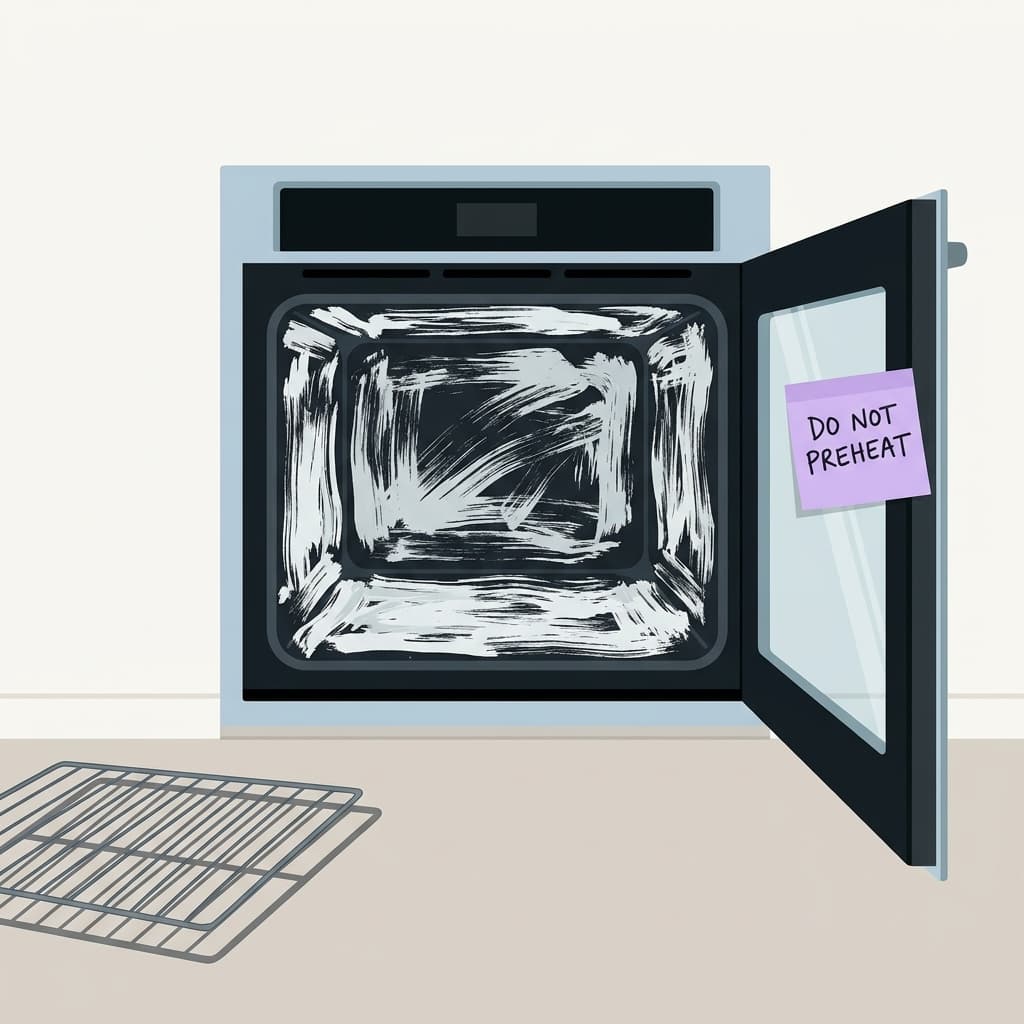
Remove the oven racks and set them aside. Scoop the paste with your bare hands. Spread it across the inside of the oven. Cover the bottom. Cover the sides. Cover the inside of the glass door. Avoid the heating elements completely. Do not be precious about this step. It does not need to look smooth. The whole point is that this is incredibly fast.
Step 3: Walk away (12-24 hours)
This is the hardest step for an ADHD brain. You must walk away. The baking soda paste needs time to break down the grease. You need to forget the oven exists for at least twelve hours.
There is a major forgetting problem here. You will preheat the oven tomorrow morning and accidentally bake the paste. The fix is absurd but necessary. Write a physical sticky note. Stick it to the outside of the oven door. Write "DO NOT PREHEAT. PASTE INSIDE." in giant letters.
It feels absolutely ridiculous to write a warning note to your future self about an oven. Do it anyway. It works. When the oven is the loudest mess in the kitchen, the note is the only thing that stops a fire.
Step 4: Wipe it out (5 minutes)
Come back the next day. Take a damp cloth or a cheap sponge. Wipe the dried paste out of the oven. The carbonized, dried-on grease will come right off with it.
Do not worry about getting every single speck of dirt. If stubborn brown spots remain, you can spray a little white vinegar on them. The vinegar will fizz on contact. This lifts the rest of the grime. Wipe it one last time.
Step 5: Stop. You are done.
You do not need to dry the inside of the oven. You do not need to polish the glass. Put the metal racks back inside. Walk away from the kitchen. The minimum win is the oven is functional and not on fire.
How to clean the oven racks (without ruining your bathtub)
Every single top cleaning guide on the internet tells you to soak your oven racks in the bathtub overnight. This is uniquely terrible advice for an ADHD brain.
You will put the racks in the tub. You will walk away. You will forget they are in there for three full days. When you finally remember, the grease will have permanently stained your bathtub ring. You now have two major cleaning projects instead of one.
Use the trash bag method instead. This is the method that does not create a second cleaning project.
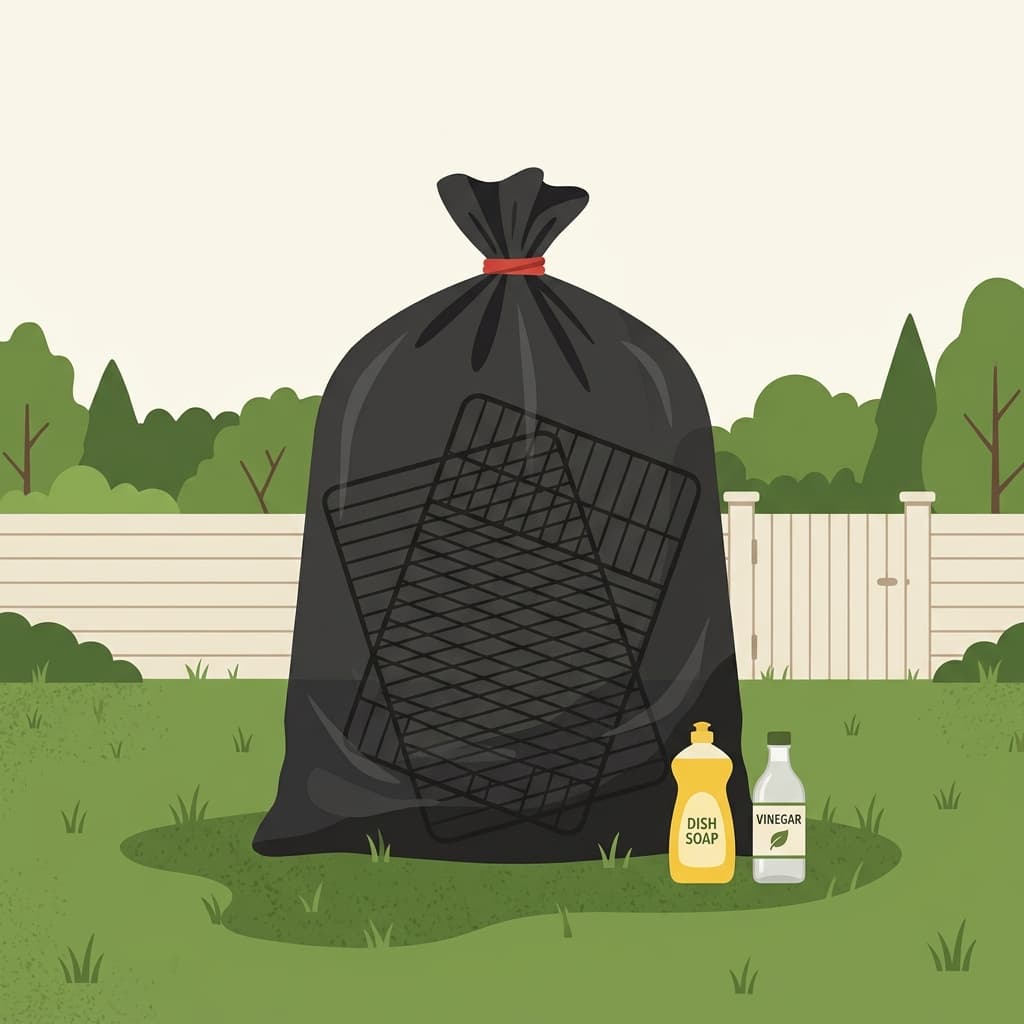
Take a thick, heavy-duty trash bag. Lay the oven racks flat inside the bag. Take it to the yard or the garage. Pour one cup of dish soap and one cup of white vinegar directly into the bag. Seal the bag tightly. Leave it sitting outside for eight hours.
The fumes and the soap break down the grease perfectly. You can see the black bag from the window, which helps you remember it exists. After eight hours, open the bag and hose the racks off. They will be clean. If you do not have a yard, the sealed trash bag works in the bathtub because the bag itself prevents direct contact with the porcelain. The problem with the standard advice is that bare racks touch the tub. Lay the bag on an old towel as a second layer of protection.
When this method isn't enough
We need to be completely honest here. If your oven has five or ten years of carbonized buildup fused to the surface, one round of baking soda paste will not fix it completely.
You have two options for an apocalyptic oven.
Option one is doing this ten-minute paste method three weekends in a row. It is much easier to do three tiny sessions than one heroic, six-hour deep clean.
Option two is the nuclear route. For genuinely apocalyptic cases, commercial oven cleaner earns its place. Use the heavy chemical spray as a one-time reset. Once the disaster is cleared, throw the empty can away. Maintain the oven with the gentle baking soda method going forward.
How to keep it from getting this bad again
The concept of object permanence applies to appliances too. When you close the solid oven door, the mess inside ceases to exist. Out-of-sight ovens get filthy incredibly fast.
The maintenance method is extremely short. After you cook something that splatters, wipe the bottom of the oven. Do this while the oven is cooling down but still slightly warm. It takes exactly thirty seconds. This stops cheese and grease from burning into carbon.
Once a month, do the full ten-minute paste method. Put a recurring monthly reminder in your planner. An "oven paste day" once a month means you never let the appliance get apocalyptic again.
Keep going
Pick your space, pick your energy, save your progress across seven days. No card required.
Common questions
The phone friendly planner is ready when you are.
Pick a room, check off tiny steps, save your progress. Free to try, one time payment to unlock everything.